Even though there are thousands of ways to consume weed today, and various cannabis gadgets are available online and in shops, a joint remains the evergreen pick to consume the plant.
Let’s admit a joint is a timeless cannabis roll-up, perfect for those who want to consume weed by inhaling its smoke. Joints are rolled in thin paper and contain only pure cannabis flower, unlike spliffs mixed with tobacco.
When you are interested in rolling, you must be aware that there are different ways and, therefore, different types of joints.
If you want to know how to roll thin joints, you are at the right place. If you are a newbie, it may take some time, but we’re confident you will master the technique quickly.
Let’s now discover how to roll thin joints and become a pro!

How to Roll Thin Joints
In our guide, we have included six easy-to-follow steps to correctly roll a joint. From grinding the weed, making and placing the crutch, and filling it up, to rolling, sealing, and twisting it before enjoying, we’ve covered everything you need to know.
Materials for the perfect thin joint
First of all, you have to gather all of the materials which you will need for rolling thin joints:
- A favorite weed strain
- A grinder
- Rolling papers
- A crutch
- Tamping stick or another poker
- Rolling tray (optional)
When you have all the above, find a table or another clean, flat surface and begin the process. Or, if you have a rolling tray, you can do everything in it.
Step-By-Step Guide for Rolling Thin Joints
Step 1. Grind the weed
To fill your thin joint, you must flawlessly grind the weed. And for that, you have to use a quality grinder. Grinders are a great tool because they can help you for an even consistency of the weed, which will result in an even burn.
If you don’t possess a grinder, you can break the flower with your fingers or use scissors.
Yet, we always recommend doing it with a grinder because that’s one of the secrets behind rolling thin.
Step 2. Make and place the crutch
When it comes to thin joints, the crutch plays a significant role. You will roll a thin joint if you have a slim, cylinder crutch.
Your rolling papers may come with crutches or without. However, you can buy crutch papers in a weed shop, or you can always make your own.
A crutch has to be made from a thick piece of paper. So, if you are about to make your crutch, it would be best if you use cardboard.
Also, there are reusable crutches, which are most often made from wood, silicone, glass, and ceramics. If you use that kind of crutch, remember that it has to be slimmer.
When you roll your crutch, you must make it into an accordion first and then roll it as thin as you want. The crutch must be placed at the end of the rolling paper.
Thus, the crutch should be on the left side of the rolling paper and in your left hand if you are right-handed.
Step 3. Fill up
The larger the rolling paper, the bigger the quantity of the weed you’ll use. Still, for thin joints, you won’t need much weed; therefore, you can use a smaller but longer rolling paper.
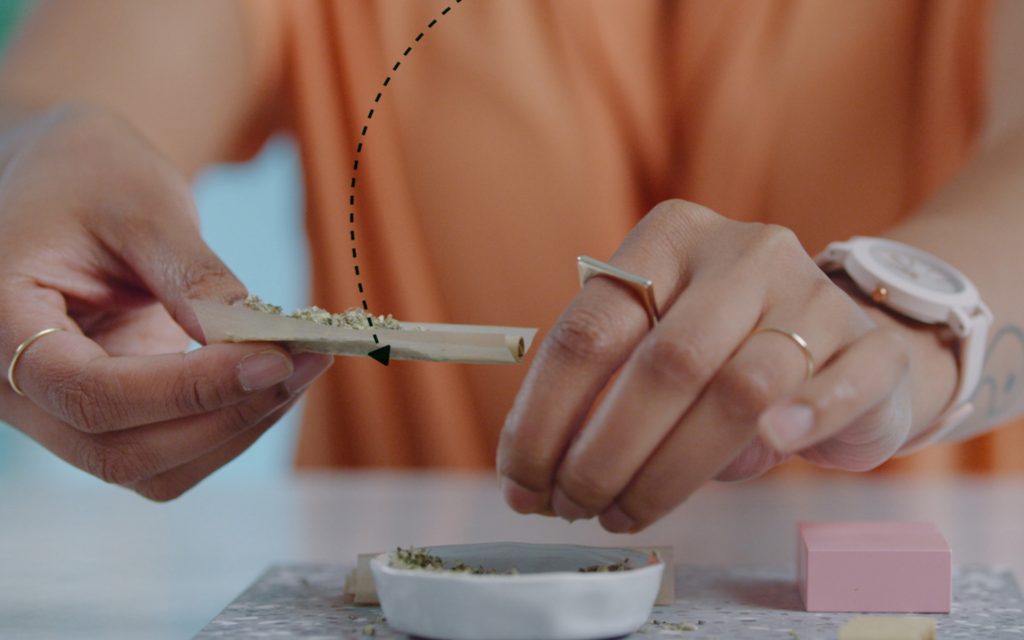
As soon as you place the crutch at the end of the rolling paper, fold it into a U-shape.
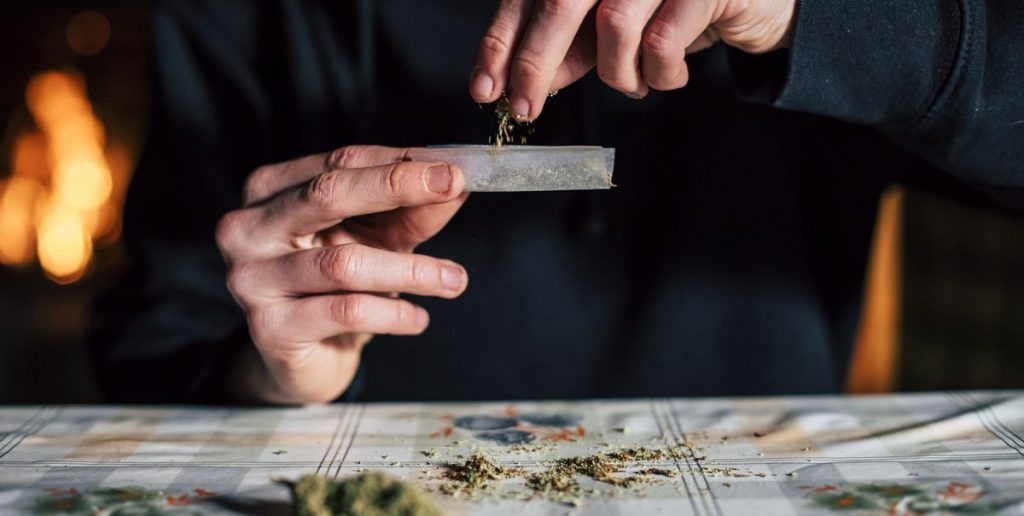
Now, if you want to learn how to roll thin joints, you must know that you should spread the weed on the rolling paper evenly. If you place too much weed at the tip, you will get a cone-shaped joint.
Once you have made the U-shape, spread the weed in it, and you are ready to roll.
Step 4. Roll the joint
One of the most critical things with rolling is moving the weed-filled rolling paper back and forth between your fingers. That way, you will compress the weed inside and even the bumpy parts. Remember, you have to be gentle and not push too much.
Once you get a cylindrical shape, it’s time to roll it up.
Foremost, you have to wrap the rolling paper and tuck it in. Beware of tucking up towards the adhesive side of the rolling paper, so you can stick the joint once you make it.
For every joint, you must start the tucking beginning from the crutch. The trick is keeping the shape as you go up toward the top. You can do that with some more pushing and tucking, and hopefully, you will manage to roll the needle you wanted.

Step 5. Seal the joint
Now, it’s time to seal your work. Lick the glue side of the rolling paper and press it down. Ensure that the joint you rolled is tight and has the desired thinness. Once you seal the glue, inspect what you have done.
During this step, you can use your poker and push down the cannabis from the top towards the crutch. If there’s air or unevenness, the poker will do its job.
Also, the weed you had left when you were rolling can be put up in the joint from the top and packed down with the rest using the poker.
Finally, tap the joint several times on an even surface and watch how the gravity works. Your weed will be distributed evenly, and you will be ready to close the joint.
Step 6. Twist and light up
You are almost done, and the last thing you have to do is to finish with the open top of the joint. All you must accomplish is a little twist of the rolling paper and close the joint.
For a better result, it’s best to shake the joint up and down, holding the twist with your index finger and thumb. You can push the twister down and have a perfectly filled-up thin joint.
The thin joint is ready for smoking. You can light it up immediately and see what you have achieved, or you can save it for later and show off some smoke rings to your friends. The choice is yours.
Conclusion
Many factors contribute to rolling an immaculate thin joint. You must use good rolling paper, a robust grinder, and a correctly done crutch.
However, once you start rolling, you will quickly learn all these things and recognize which materials are suitable for your joints and which aren’t.
This is a simple step-by-step guide on how to roll thin joints, and we hope we’ve put every detail in this quick read.
Our main advice is not to rush and take your time. If you want to become an expert, you will have to practice and have patience. We are confident you will become a skilled roller in no time, and you should be too!
