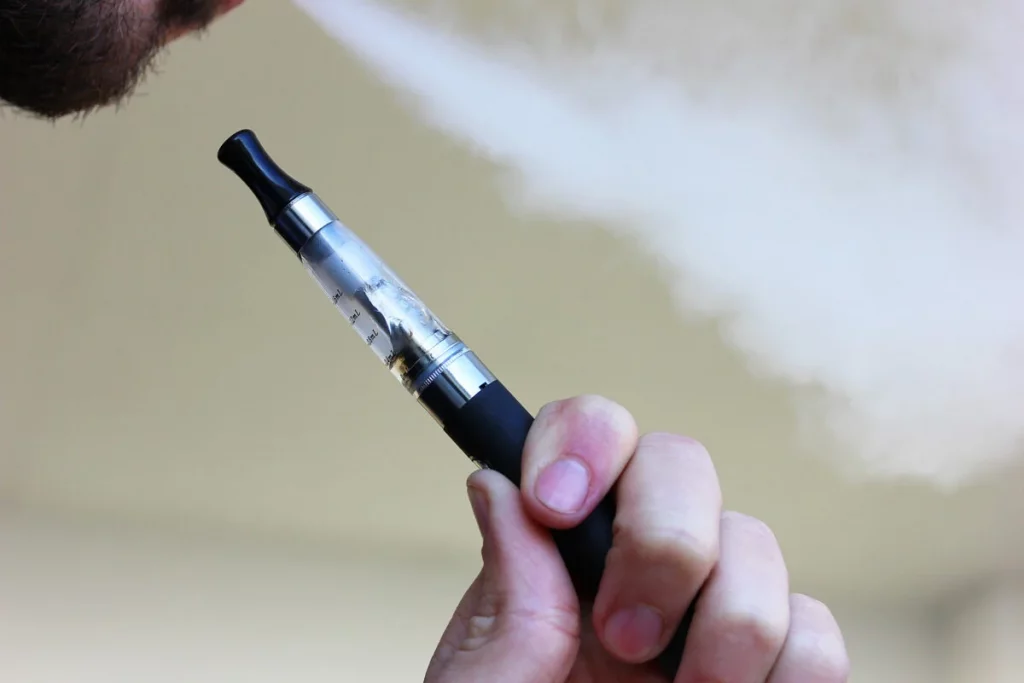
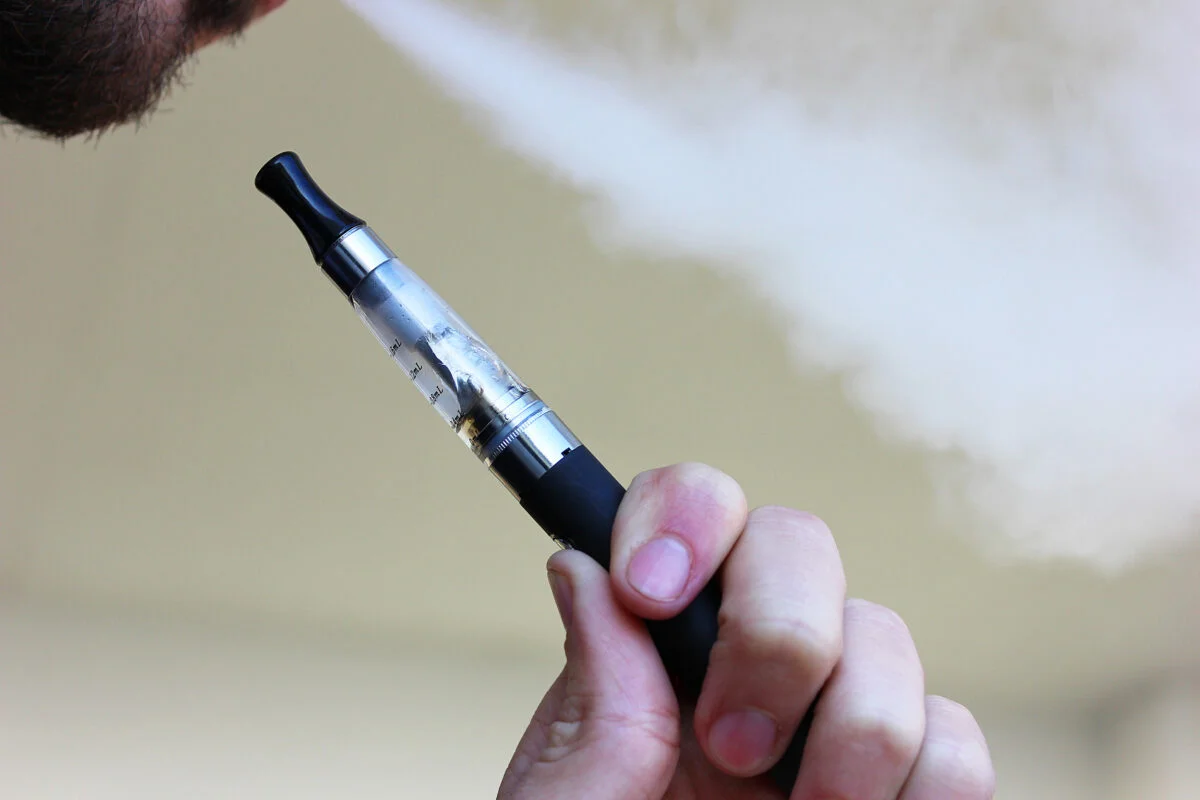
Vape pens offer a great vaping experience because they’re small, discrete, come in various strains, and are easy to use. Even if you prefer smoking, you can’t deny that grinding, rolling, and all that makes a mess. Plus, if you’re a beginner, you’ll need time to make the perfect roll.
While vapes are great, they do have a weakness. They can easily get stuck, stop working, the pen stops heating, the cart leaking, etc. This article will address one of the most common problems. Continue reading to find out how to fix a vape pen battery and give your pen a new life.

How to Fix a Vape Pen Battery
If you want to find a solution for your vape pen battery that’s not working, you have to find the problem first. Vape pens stop working for various reasons, and that’s why we’ll go through some of the most common issues and their solutions step by step.
Usually, vape pen batteries don’t work because:
- They’re not turned on
- The battery is empty
- No connection
- The pen’s middle part (between the battery and the cart) is dirty
Now, each of these problems is solvable as long as the vape pen is not completely damaged. I’ll go through all of the possible issues and solutions separately.
Turned off battery
I understand that the on/off never-ending discussion sounds funny. However, you won’t believe how many times this was the issue behind not-working batteries. That’s why, even though it may seem obvious to some of you, I decided to include it in this list.
So, if you’re wondering how to fix a vape pen battery, first, make sure that it’s turned on. There are two types of batteries when it comes to vape pens. The first type belongs to the no-buttons category, and it’s activated simply by placing your mouth on the mouthpiece and inhaling.
The second battery type belongs to the press-then-inhale category. There’s a button on the pen that you have to press repeatedly several times to activate (usually, it takes 5 presses).
If you have a pen with a button, try to activate it a few times. If the pen doesn’t work, jump to the next section.
Battery charging
This is a two-part problem. Perhaps you forgot to charge your pen, or, and this is most likely, the charging process was not done properly. Will start with a simpler problem.
Empty battery
Of course, the first thing you check when a product’s not working is whether it is charged. Your pen has a light indicator that shows the battery’s state. Once you plug in the battery, the indicator will show a red light, blinking red, or show a green light. Each of these lights has meaning.
Usually, the red light indicates charging, blinking red shows a connection problem, and the green light indicates your battery is fully charged.
Note: To be sure this applies to your pen, you should read the manufacturer’s instructions.
Note No. 2: I advise you to connect the USB charger to the power source (laptop, computer, etc.) and then screw the battery on the charger. I advise you this because many pen users screw the battery and charger together and then connect the charger to the power source.
Not that this is wrong, but if you accept this advice, you’ll not screw the pen too tight accidentally, which will lead to a problem.
Also read: How to Charge a Pen Without a Charger

The full battery still not working
So, if the problem is the empty battery, you’re good to go after charging. You’ll see the green light when it’s full, and you can start vaping. However, if you notice a blinking red light, you have a connection problem.
Disconnect the battery from the charger, and prepare to do some fixing.
The battery is not connected to the cart
Assuming your pen is fully charged and turned on, but you still can’t get any vapor from the cart, the problem is in the connection plate in almost all cases. Remember the advice I gave you above about screwing the battery with the charger?
Well, the connection plate is the reason for that advice. Tightening the cart or the charger with the battery too much pushes further the connection plate. The connection plate is a round tin plate placed between the threads of the battery, and its role is to connect the charger and the battery.
When you connect your pen to the charger, you can push the plate too much if you overtighten the charger. So, the next time you want to vape, your pen won’t produce any vapor.
To fix this problem, you’ll need a tin object, something like a small paper clip. Take the paper clip and gently slip it in between the connection plate and the threads. Go all the way around the plate and try to pry it a bit. You must be gentle and don’t pull too hard because, that way, you’ll take it off completely.
The leakage problem
You’re familiar with the leakage problem, I suppose. Well, the battery of your vape pen is not immune to this issue. If there’s a leak and liquid goes to your battery, your device won’t work.
So, take a Q-tip and soak it in isopropyl alcohol (you won’t need much). Gently scrub the connection of the battery, but don’t rush and don’t push. Take your time and make sure that you have taken off all liquid and dust.
Before you assemble your pen, make sure all parts are dry.
Related: How to Charge a Disposable Vape Pen
Conclusion
This is it! I hope you got the necessary advice on how to fix a vape pen battery and that you’ll be able to save your device. The problems we discussed in this article are common and easily solvable.
However, the battery may be permanently broken, in which case, you’ll need a new one, of course. Let’s hope that’s not the case and you’ll be able to restore it to its full capacity.
Lastly, I advise you to clean your device regularly, as that prolongs your vape pen’s life. Also, it’s always better to read the manual and even talk to the manufacturer since not all pens are equal.
